How to convert color image into black and white
When you photograph people in color, you photograph their clothes. But when you photograph people in black and white, you photograph their souls!Ted Grant
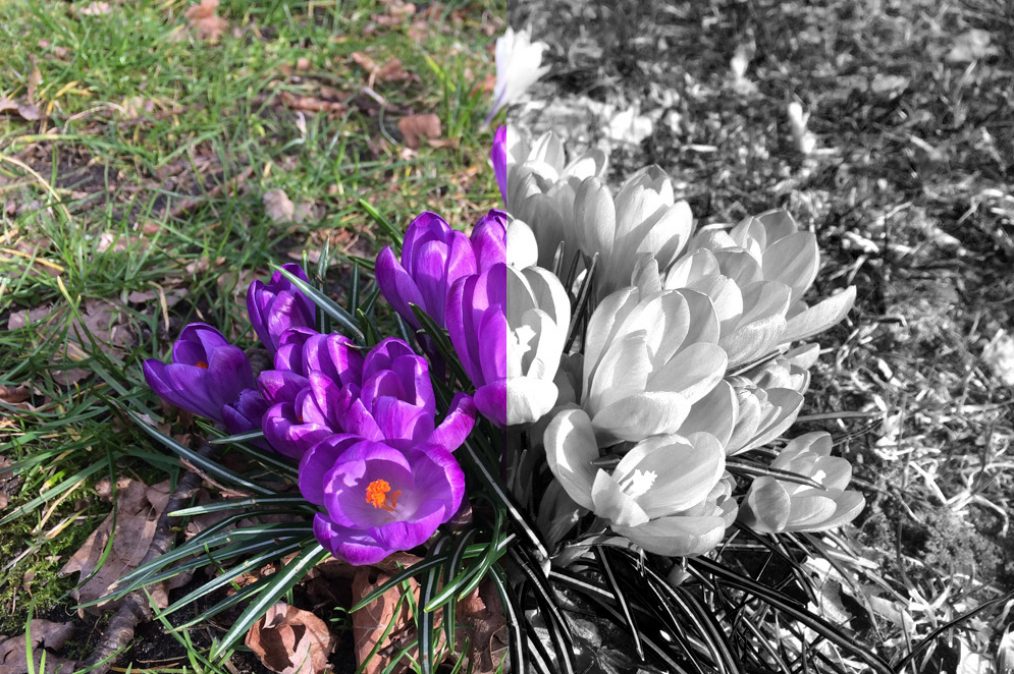
Black and white photography has always been popular. Black and white looks more ambient en elusive, gives a special vibe to the photos. Just try to convert some of your photos black and white. How drastically changes the feeling, atmosphere and even the message of the photo! How to convert color image into black and white?
Fortunately, with the coming of digital age photographers don’t have to make a choice between color or black & white before shooting. Shoot just color and RAW, you get them both! It is very easy to convert the photos to black and white. Exists many software techniques to do that. You have to be inventive and intuitive to choose the best one that meet your needs and let to display your work the most impressive way.
Black and white images (containing only black and white pixels) are technically known as Bitmap images. So, black and white photos actually are grayscale images, since the photos need extra shades of gray to display all in detail. anyway, we will call them black & white.
Destructive en non-destrtuctive editing methods
Although the image manipulations in Photoshop are considered to be always destructive comparing to Lightroom, there are two approaches to convert a color photo to black and white (grayscale): destructive and non-destructive.
1) Destructive: altering the colors directly on the layer. This is the quickest and easiest way but it makes direct adjustments to the image layer and discards image information. The changes are permanent and can’t be re-adjusted once you have saved your image. You have minimal or even no control over the conversion.
2) Non-destructive: applying the adjustment layers. The modifications that you make to your image are stored in a layer(s), and the original photo remains unchanged underneath. You can edit the conversion at any time changing the adjustment layer settings.
Basic black and white conversion techniques in Photoshop
Convert to grayscale
The simplest black and white conversion method. Converting to grayscale discards all the color information in the photo.
Image > Mode > Grayscale > Discard.
Hue/Saturation
The quickest (destructive) way is to use Desaturate command on the layer. Go to the Image menu at the top of the screen, choose Adjustments, and then Desaturate. Quite similar way is to go to Image > Adjustments > Hue/Saturation and turn the Saturation down to -100. Photoshop instantly desaturates all the color in the image, leaving a basic black and white version.This method gives exactly the same result as Convert to grayscale. Here you have no control over the conversion.
Desaturating can be applied also as an adjustment layer and used as part of a non-destructive editing process. Go to the Layer menu: Layer > New Adjustment Layer > Hue/Saturation or click the Hue/Saturation icon in the Adjustments panel.
The advantage of this adjustment layer option is the possibility to lighten or darken different colors in the image. Choose Master (default) from the Hue/Saturation dialog box to affect all colors in the image equally, or select any color from drop-down list to change the lightness of the red, yellow, green, cyan, blue or magenta.
LAB Color
This technique converts your photo from RGB to Lab color mode, recording the brightness and colour values separately, then discarding the colour information. Although this method is still destructive, it gives a better conversion than Convert to grayscale and Hue/saturation destructive methods.
Go to the Image menu, select Mode and then select Lab Color: Image > Mode > Lab Color
Go to the Channels panel and select just the Lightness channel: Channels > Lightness channel
Go back to the Image menu, select Mode once again, and then select Grayscale: Image > Mode > Grayscale
Popup window: Discard color information > OK
Image is now made up of a single Gray channel and all of the color information has been completely removed.
Gradient Map
The Gradient map adjustment layer maps a black and white gradient to the brightness values of your photo. Dark areas become black or dark grey and highlights white or light grey.
Press D to reset the foreground and background colors to black and white.
Create new adjustment layer: Layer > New Adjustment Layer > Gradient Map or click Gradient map icon in the Adjustments panel.
Adjust tones with Gradient Editor slider.
Channel Mixer
The Channel mixer method gives a lots of control over the black and white conversion and lets us adjust the ratios between the red, green and blue (RGB) channels. Lightening the value of a particular channel lightens the colors close to it and darkens the opposite colors on the color wheel. For example, increasing the value of the R channel will make the red tones lighter, and the blue tones darker. Tis can be successfully used to lightening skin tones in portraits and darkening the sky in the landscape photography. This works as a digital equivalent of using color filters in analogue photography. Setting the red channel to 100% gives the same effect as using a red filter on the lens with black and white film.
Create new adjustment layer: Layer > New Adjustment Layer > Channel Mixer or click Channel mixer icon in the Adjustments panel. Tick the monochrome box. Move the Red, Green and Blue sliders to the left and right to lighten and darken different tones in the photo. The total of the three sliders should be 100% at all times.
Black & White
Destructive way: Image > Adjustments > Black & White. Non-destructive: applying the Black & White adjustment layer. Click Black & White icon in the Adjustments panel or choose Layer > New Adjustment Layer > Black & White and in the New Layer dialog box name the layer and click OK. Photoshop applies a default grayscale conversion.
After applying the adjustment layer you can play with colors in the Black & White dialog box or Adjustments panel to achieve the best result. The adjustment layer gives you the control of the channel mixer and hue/saturation techniques via six color sliders. Move the color sliders right or left to brighten or darken the tones in the photo.
There are much more ways how to convert color image into black and white, like using only one of the RGB color channels and enchanting it with adjustment layers, or Luminosity blending method which deals only with the brightness values in the image, ignoring the color information. Is useful also to combine a couple of additional blend modes, targeting specific areas of the photo with a layer mask, also use presets. If you know black and white conversion basic in Photoshop, you can already achieve good results and learn to be inventive enough to create your own approach based on these techniques.